Hook's Rub Smoked Brisket
If y'all love brisket as much as we do, you'll love cooking through this recipe. This is my recipe complete with the flavors we love, tools, tricks and how to choose a brisket at the store!
Prep Time: 30 - 60 minutes
Cook Time: 8-12 hours (depending on internal temperature and resting time)
Time to let Meat Rest: 2 hours minimum
Time until the meat disappears: Unknown, but if you have hungry kids, serve yourself first!
Ingredients:
- 10-15 lb. Brisket with both the flat and point muscle included (some call is a packer brisket)
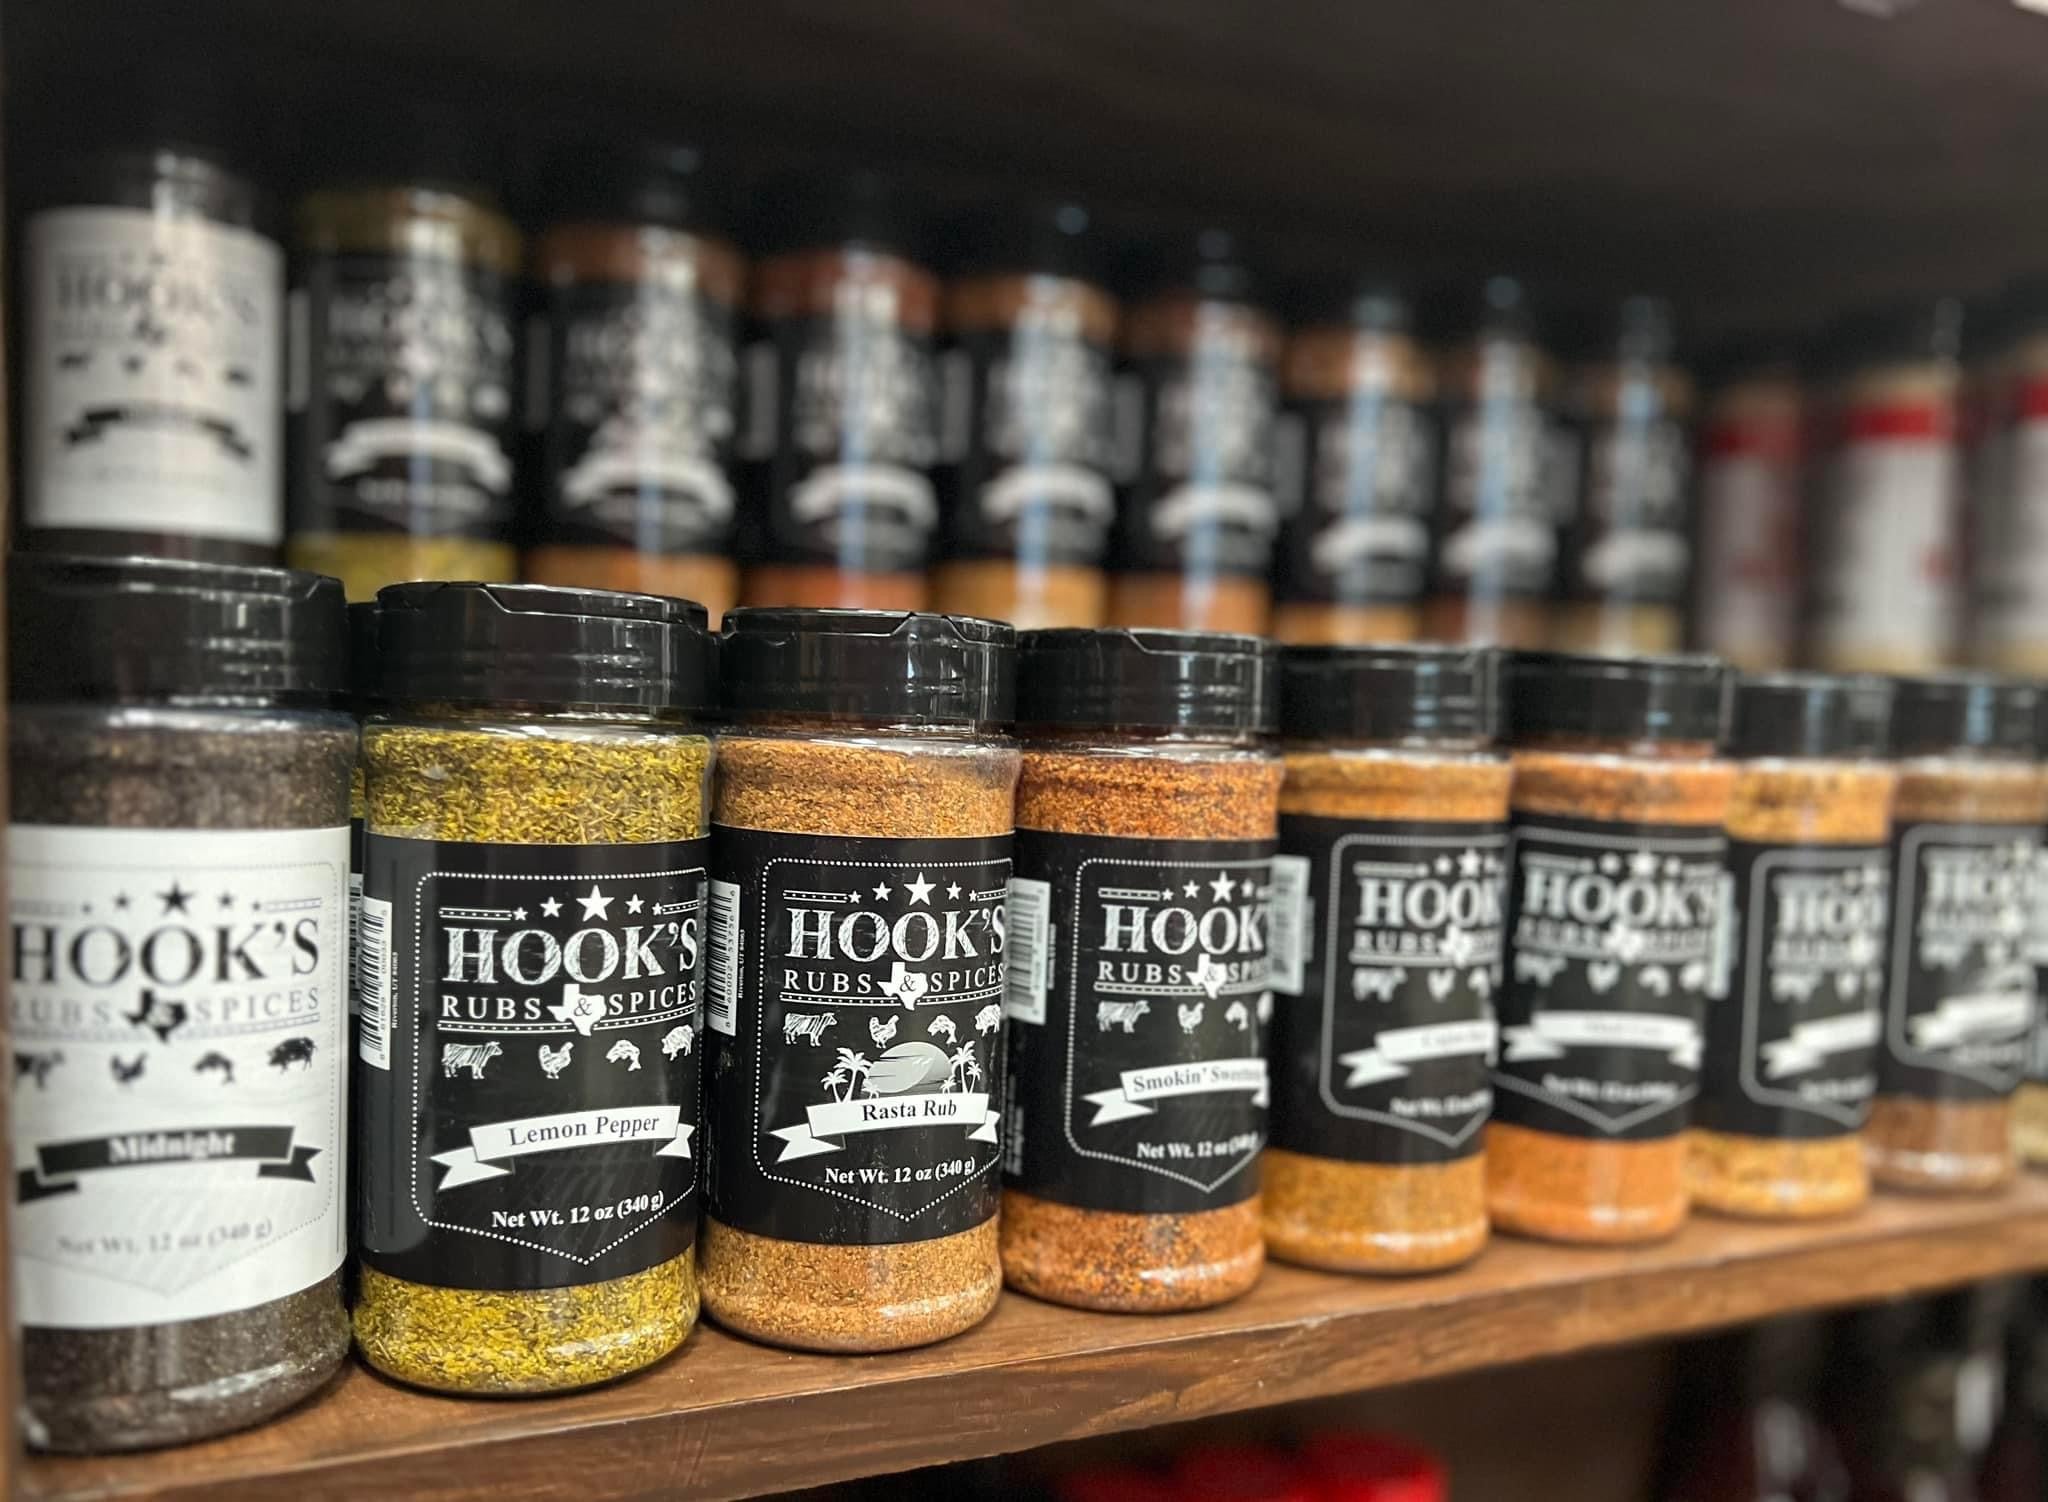
- Seasoning: Hook's Double Hook Combo with Smokin' Sweetness & Midnight (1:1 blend) or H-Town All Purpose Rub
- A bottle of your favorite BBQ sauce (or not if you’re not a saucy type of person)
- Apple cider vinegar to baste meat
- 4 cans of Beef Broth (2x for injecting and 2x for wrapping)
Tools:
- Offset Smoker
- Pellets, bundle of oak logs, wood chips or chunks (Texas style is oak or pecan)
- Butcher paper or Foil long enough to completely wrap the brisket OR an aluminum pan large enough to fit the brisket
- Baking Sheet for prep
- Spray bottle or basting brush with apple cider vinegar
- Injection Needle
- Cutting Board
- Sharp Boning Knife
- Instant read digital thermometer
- Brisket Slicing Knife
I’m from Texas, the BBQ beef capital of the world. In Texas, when we smoke brisket, we love the low and slow method because that time and temp combo help break down the muscles, tendons and marbling in the meat to produce a mouth-wateringly tender and juicy cut of meat! I WAS HOOKED from the first time I remember having a brisket my dad smoked for us when a child and have been a huge fan ever since! Yeah, brisket is a very intimidating cut of meat to cook for the first time, but with proper temperature management, timing and PATIENCE, you won’t go wrong!
Picking your Brisket:
You want to find a brisket with both the point and flat muscles attached or as some would call it “a whole packer” (ask the butcher for assistance in picking the perfect hunk of meat). You want to get about ½ lb. of brisket per person you are cooking for. Some people say the grade of beef matters and I fully believe that. Wagyu (the American version of Kobe beef), is the most marbled, but also the most expensive. You won’t go wrong with it, but would spend a chunk of change to buy it! Prime, just under Wagyu, is another heavily marbled option (only the top 2% of beef in America is graded Prime). Choice grade, etc. are all lower grades with less marbling, but more cost-effective on your budget. My take is brisket is a SUPER fatty cut of beef by nature, so grade may not be that big of a factor in the end and if you learn to cook one grade, you can cook them all with tweaks! Choose to suit your budget!
PRO TIP: I like to do the “fold test” in the store to make sure I am getting a brisket with a good bit of marbling (fat) that will eventually translate to tenderness and flavor over the course of the smoke. Just grab the meat on both ends and fold like a sheet of paper. If you can touch the tips of the point and flat (or get very close), you have a good, well-marbled cut of meat. If it doesn’t come close to touching, try the next brisket.
Trimming:
Some people don’t trim, some people do. I am in the camp of the latter as it helps with the consistency of the cook. There are several methods to trimming a brisket, but I have a couple of pretty simple rules to follow that I list below. In trimming, try not to go so deep into the fat that you cut out meat. You want to “square up” the brisket, but not cut off any valuable meat, just the fat! Trim the “fat cap” side down to approximately ¼ inch. This is the fattiest side of the meat and normally the thickest/hardest fat here won’t render and melt in a regular amount of time. Then trim down the pocket of fat in between the flat and point. Lastly, trim off any silver skin. MAKE SURE to find the grain of the flat side (side you slice) and cut one or two small ¼ inch deep notches perpendicular to the grain. This will be your guide later to know what direction to slice it!
Injecting:
I like to inject my brisket with organic beef broth (not expensive). The injections should be done in a grid-like pattern, at 1-2 inches apart from the previous one. Be mindful that some of the previous holes you’ve made can and will squirt you, as you inject! This is due to the meat grains flowing in the same direction and fluid with the meat travelling down paths. So keep your eyes open for random shots of injection fluid and cover those spots with your hand as you inject more!
Smoking the Meat:
Brisket smoking is all about 3 things: Temperature, Time and Patience. Smoking at 275 degrees for the whole cook makes for a consistent temp for “low and slow” cooking. I would allow approximately 45 minutes to 1 hour of cooking time per pound but there isn’t a set time as they are all different, so honestly, when it’s done, it’s done! I like to make sure the brisket gets to a couple of temperature benchmarks to know where you are in the process:
160 degrees = Time to Wrap aka the “Texas Crutch” where the meat is completely wrapped in unwaxed butcher paper or foil.
200 degrees = Time to POKE and/or PULL – using a good temperature probe, you can open the wrap to poke the meat in multiple places and check the internal temp. If you are at 195-200 degrees would normally be done, but I like the meat to be “poke through perfect”! If you poke the meat with the probeor toothpick and it feels smooth like you are poking through a jar of jelly, it’s ready to pull and rest. If you poke the meat and it feels tough or like trying to push it through a sponge, then it’s not ready. Leave it on the grill for 30 minutes or so longer and repeat.
METHOD
1. Heat an offset smoker to 275 degrees (put logs, pellets, chunks or chips in the smoker's wood container)
PRO TIP: NEVER use wood from the cut lumber section of your local hardware store because it is not safe to cook with!!! Use fruit or nut tree woods or other hard woods like oak, mesquite or hickory.
2. On a cutting board, trim brisket as mentioned above, discarding the thick chunks of fat or zipper bag and freeze for later for added fat to ground beef or other dishes. Then on a baking sheet, lay out brisket then grab your shakers of seasoning and season all sides liberally.
3. When smoker hits 275 degrees, place brisket on the grill fat cap side down in the middle of the smoker and turn the fatty “point” of the brisket toward the heat (or not directly close to the fire box/element). If using a grill, move coals/wood chip bundle to one side and place meat on the opposite side for an indirect cook.
4. Add wood as needed because though you’ll be smoking for hours potentially, the first 4 hours is the most important for wood smoke penetration. And you want to make sure the wood lights on fire before closing the firebox to the pit. This will avoid dirty and pungent smoke on your meat.
5. BE PATIENT - Smoke for 2 hours before opening the pit and first temperature check. Add wood as needed. Smoke for 1-2 more hours before you check the temperature again. At every check, spray or baste with that apple cider vinegar as this will keep the meat tender and add a nice tang of flavor.
6. Once, the meat hits 165 degrees, pull the meat off the smoker, spray/baste again and completely wrap it in foil or unwaxed butcher paper and place back on the grill. Alternatively, you can place into the aluminum pan and pour in the beef broth over top and cover with foil then place back on the smoker.
7. The meat temp will rise quickly to 160 then “stall” for a bit after wrapping at 160-165 degrees. The stall normally happens in that 160+ degree range and can seem like the meat is taking forever, but be patient!
8. Smoke until it gets to 195-200 degrees and do the “poke through” test mentioned above. If the brisket is “poke through” ready, go the next step, if not, set it back on the grill for 30ish minutes longer and test again. A brisket can be done in the range of 195 to 215 degrees so just make sure it’s smooth on the poke!
9. After it’s ready to pull off the pit, let it rest in a cooler or oven (not hot) for a minimum of 2 hours (I like to rest for 4-6 hours). BE PATIENT- I know the meat will look juicy and you may want to cut it immediately, but that rest time allows the juices to reabsorb into the meat and makes for a tender slice of meat after that hour. If you cut it before resting, the meat WILL BE AS TOUGH as crocodile skin boots!
10. After the rest, dice the point side for the burnt ends or I like to call them, the BBQ gold nugget. Put these diced pieces in a foil pan, pour in and mix with your favorite BBQ sauce and seasoning, cover and place back on the smoker until they are tender about another 45 minutes to an hour.
PRO TIP: These nuggets of flavor will be great tooth pick appetizers or quick sandwich.
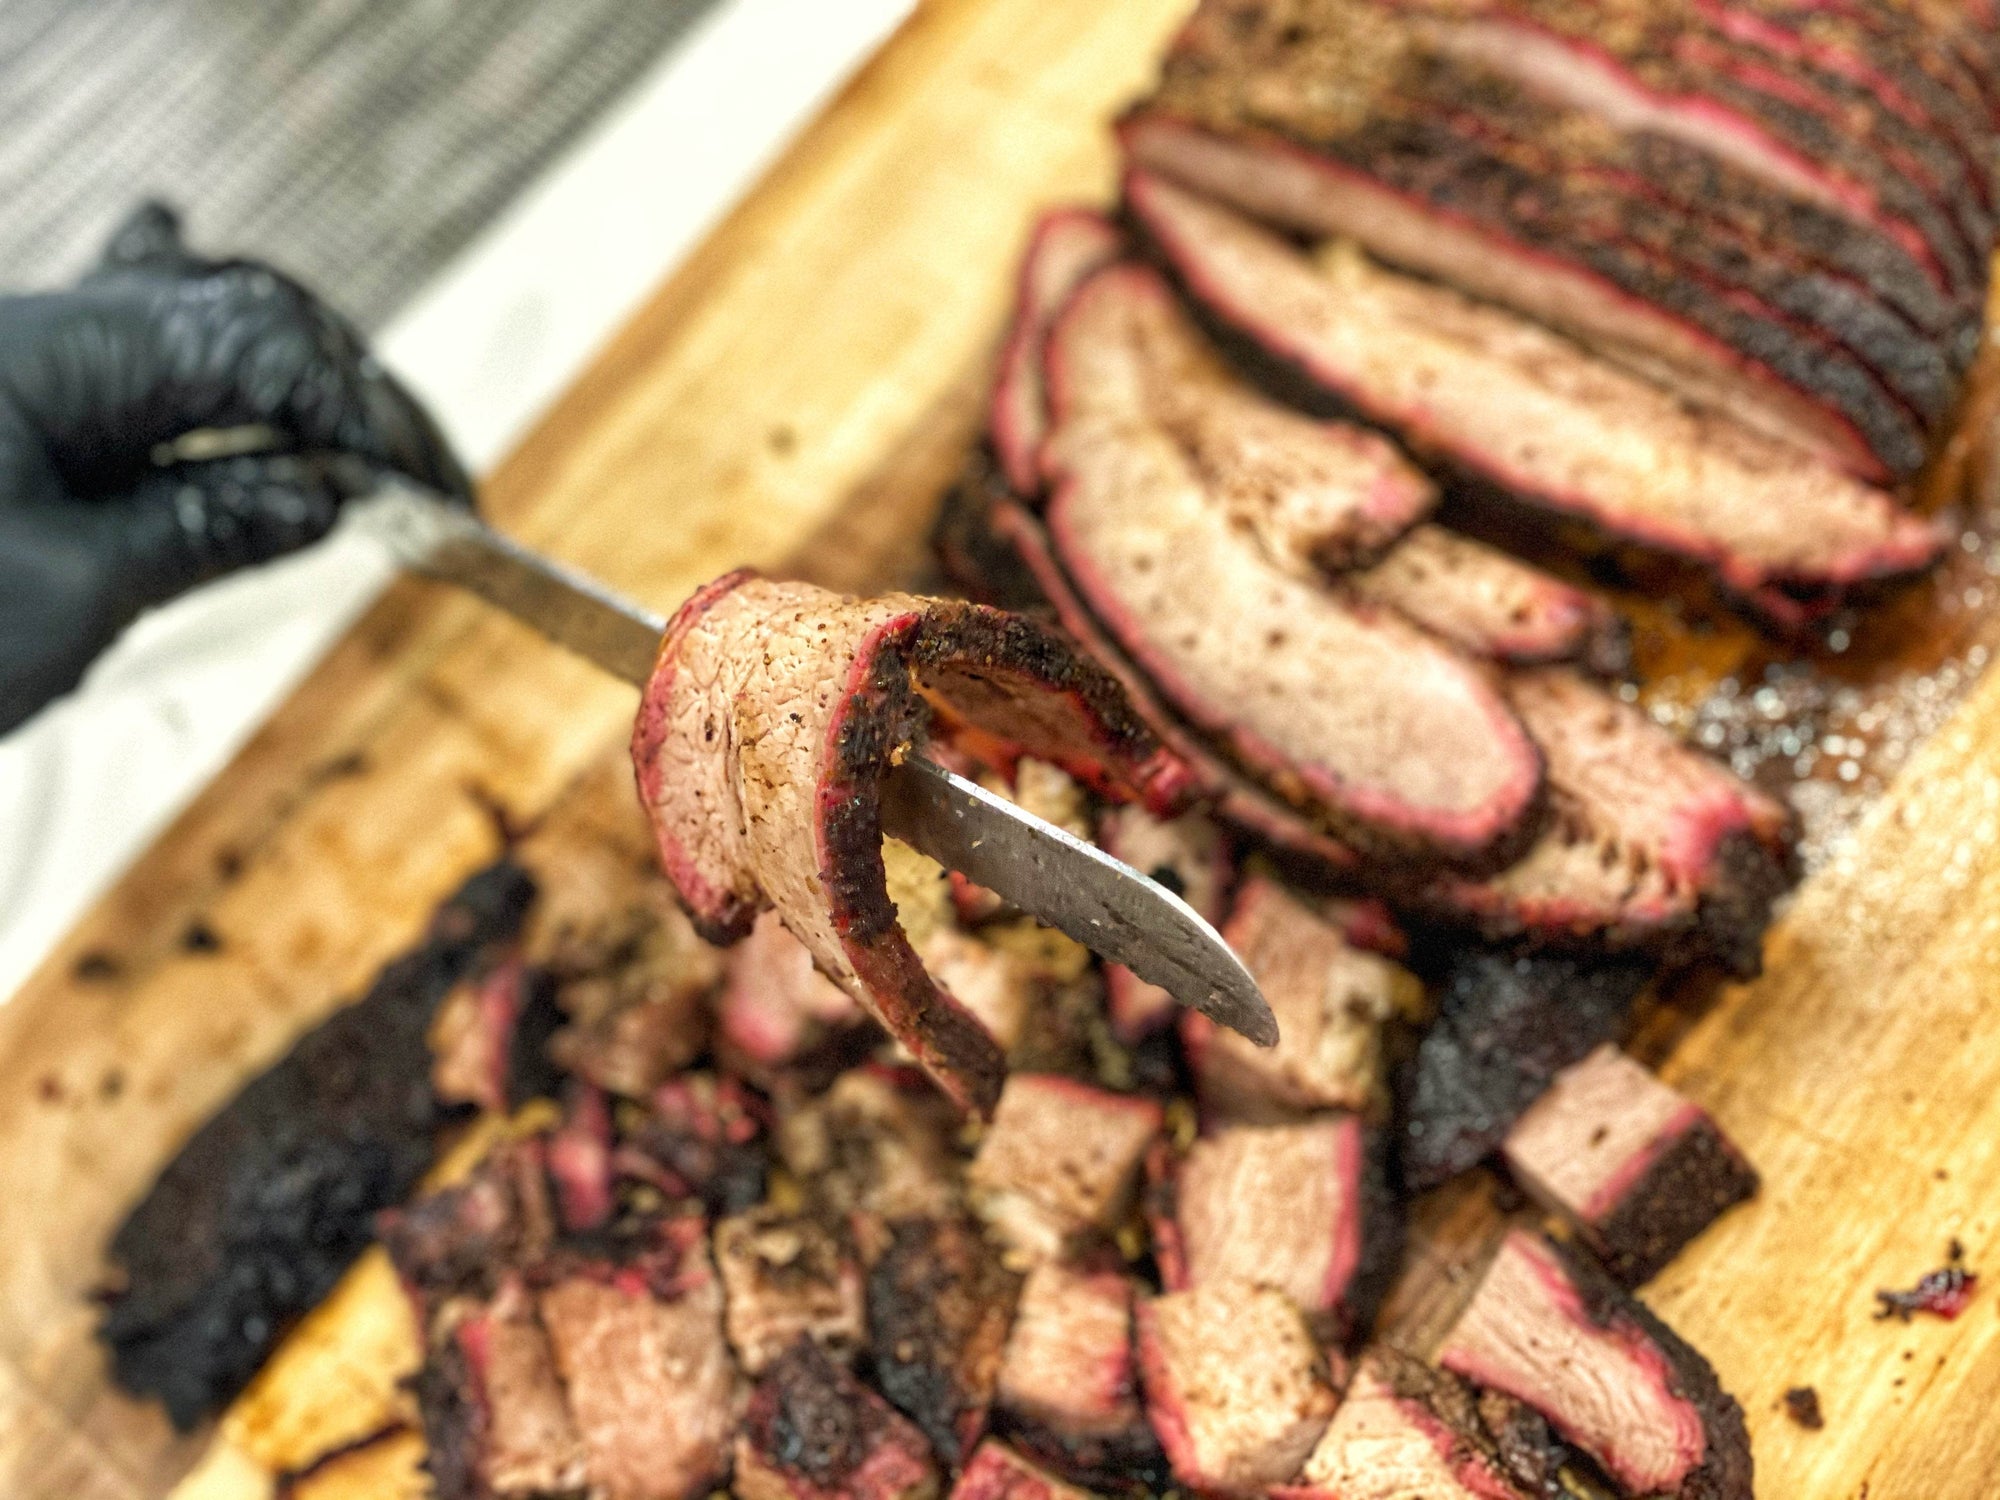
11. Take the remainder of the flat side of the brisket and place on cutting board then slice against the grain using your guide notch from before the trimming step. Each slice should be as juicy as the last revealing a beautiful pink or red smoke ring. Slice as thick or thin as you like. Serve on a plate or bun with your favorite sauce and enjoy!
PRO TIP: Pull Test: To make sure you have perfect brisket slices, fold a tender slice over your finger. It should fold in half with the help of gravity alone. Next pull it apart from the sides. If it pulls apart without much extra effort from you, then you have smoked and rested it to perfection!